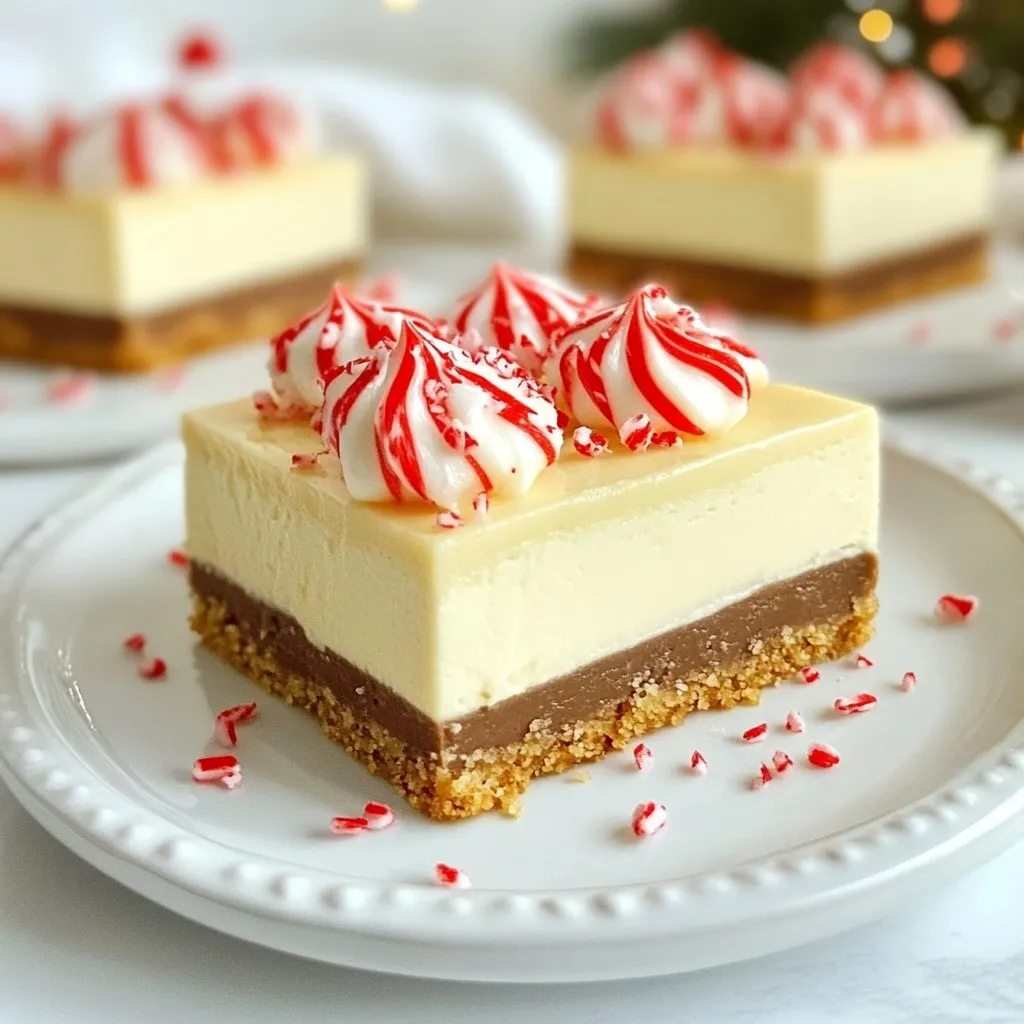
Are you ready to treat yourself? Peppermint Mocha Cheesecake Bars are the perfect blend of rich flavor and festive spirit. With a creamy filling balanced by a crunchy crust, they’ll be a hit at any gathering. I’ll guide you through each step, from gathering ingredients to serving tips. Let’s dive in and create this irresistible dessert that will leave everyone wanting more!
Why I Love This Recipe
- Festive Flavor Combination: The rich chocolate and refreshing peppermint flavors come together perfectly, making these bars a delightful treat for the holiday season.
- Easy to Make: With straightforward steps and minimal prep time, these cheesecake bars are accessible for both novice and experienced bakers.
- Perfect for Sharing: Cutting them into bars makes them ideal for parties, potlucks, or any festive gathering where you want to impress your guests.
- Decadent Yet Light: The creamy cheesecake texture combined with the crunch of peppermint candies creates a delightful contrast without feeling too heavy.
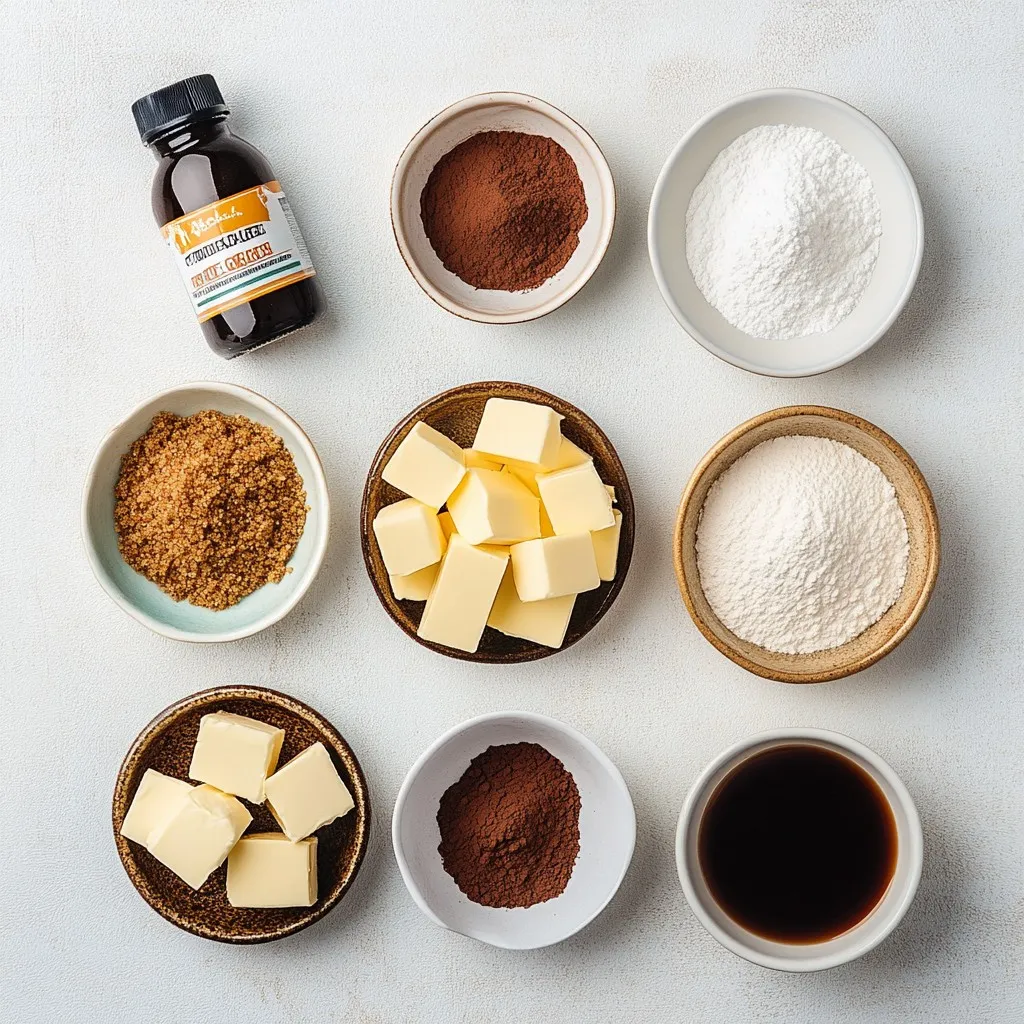
Ingredients
List of Ingredients
Graham Cracker Crust Components
– 1 ½ cups graham cracker crumbs
– ½ cup unsalted butter, melted
– 2 tablespoons granulated sugar
Cheesecake Filling Ingredients
– 16 oz cream cheese, softened to room temperature
– 1 cup granulated sugar
– 1 teaspoon pure vanilla extract
– 2 large eggs, at room temperature
– ½ cup sour cream
– ½ cup brewed coffee, cooled to room temperature
– 1 tablespoon unsweetened cocoa powder
– ½ teaspoon peppermint extract
Garnish and Decor Options
– Crushed peppermint candies, for garnish
Gather these ingredients to make your peppermint mocha cheesecake bars. The graham cracker crust gives a nice crunch. The filling is creamy and rich, with hints of coffee and mint. Finish with crushed peppermint for a festive touch. Each bite will bring joy and warmth, perfect for the holiday season.
Step-by-Step Instructions
Preparing the Crust
Mixing and Pressing the Crust
Start by preheating your oven to 325°F (165°C). Grab a medium bowl and mix together 1 ½ cups of graham cracker crumbs, ½ cup of melted unsalted butter, and 2 tablespoons of granulated sugar. Stir until everything blends well. Transfer this mixture into a greased 9×9 inch baking pan. Press it down firmly to form an even layer.
Baking Timing and Temperature
Place the pan in your preheated oven. Bake the crust for 10 minutes. Once done, take it out and let it cool while you make the cheesecake filling.
Making the Cheesecake Filling
Mixing Cream Cheese and Sugar
In a large bowl, use a mixer to beat 16 oz of softened cream cheese. Mix until creamy and smooth. Gradually add 1 cup of granulated sugar, blending until fluffy.
Incorporating Eggs and Flavorings
Add 1 teaspoon of pure vanilla extract and ½ teaspoon of peppermint extract to the mix. Also, add ½ cup of sour cream and stir well. Next, add 2 large eggs, one at a time. Mix thoroughly after each addition for full blending.
Baking Process
Pouring the Filling on the Crust
Now, slowly pour the cheesecake filling over your cooled crust. Use a spatula to spread it evenly.
Checking for Doneness
Bake the cheesecake in the oven for 40-45 minutes. The center should look set but have a slight jiggle. This way, it stays creamy.
Cooling and Serving
Cooling the Cheesecake
Once baked, let the cheesecake cool in the pan on a wire rack. You want it to reach room temperature.
Refrigeration Guidelines
After cooling, cover the pan and refrigerate for at least 4 hours, or even overnight. This step helps the bars set properly. When ready to serve, slice them into bars and sprinkle crushed peppermint candies on top for a festive touch.
Tips & Tricks
Perfecting the Peppermint Mocha Flavor
To get the best peppermint mocha flavor, balance is key. You want a good mix of mint and coffee. Use ½ teaspoon of peppermint extract for a bright taste. If you love coffee, add more brewed coffee, but don’t go overboard. Too much coffee can hide that fresh mint flavor.
Avoiding overmixing is crucial for texture. Once you add the eggs and coffee, mix gently. Overmixing can make the cheesecake dense. Just blend until smooth and combined. This keeps your bars creamy and light.
Presentation and Serving Suggestions
For a stunning presentation, arrange your cheesecake bars on a festive platter. You can drizzle chocolate sauce over them for a rich touch. Scatter crushed peppermint candies on top for a colorful crunch. This makes your dessert look as good as it tastes.
Pair these bars with a warm drink. Hot chocolate or a cup of coffee works great. The warmth of the drink complements the cool cheesecake. This combination will surely impress your guests.
Pro Tips
- Chill the Cream Cheese: Ensure your cream cheese is at room temperature before mixing. This helps achieve a smooth and creamy filling without lumps.
- Don’t Overmix: When incorporating eggs and other ingredients, mix just until combined. Overmixing can lead to cracks in the cheesecake as it bakes.
- Use Room Temperature Ingredients: Having eggs, sour cream, and coffee at room temperature helps create an even batter and contributes to a better texture.
- Cool Gradually: After baking, let the cheesecake cool in the oven with the door ajar for a few minutes before transferring it to a wire rack. This helps prevent cracks from sudden temperature changes.
Variations
Flavor Variations
You can easily change the flavor of your peppermint mocha cheesecake bars. One great way is by adding different extracts. For example, you can swap peppermint extract with almond or orange extract. This twist can give your bars a new taste while keeping them delicious.
Another fun option is to use chocolate layer alternatives. Try adding a layer of melted dark chocolate on top of the cheesecake filling before baking. This will add a rich, creamy taste that pairs well with the peppermint and coffee notes. You can also use white chocolate for a sweeter touch.
Dietary Modifications
If you’re looking for gluten-free options, simply use gluten-free graham cracker crumbs for the crust. Many brands offer these, so you can find one that suits your taste. This modification allows everyone to enjoy the treat without worry.
For dairy-free alternatives, replace cream cheese with a vegan cream cheese option. You can also use almond milk or coconut milk for the sour cream. These swaps will still keep your bars creamy and tasty while being friendly for those with dietary restrictions.
Storage Info
Proper Storage Techniques
To keep your peppermint mocha cheesecake bars fresh, follow these steps:
– Refrigeration Instructions: After baking and cooling, cover the pan tightly with plastic wrap. Store the bars in the fridge. This keeps them cool and firm. They will stay fresh for later enjoyment.
– Freezing Guidelines: If you want to keep them longer, freeze the bars. First, slice them into portions. Wrap each slice in plastic wrap tightly. Then place them in a freezer-safe bag. They can last up to three months in the freezer.
Shelf Life of Cheesecake Bars
– How Long They Last in the Fridge: The cheesecake bars will last about five days in the fridge. They taste best when consumed fresh, but they still stay tasty for a few days.
– Signs of Spoilage: Look for changes in texture or smell. If the bars feel slimy or have an off odor, it’s time to toss them. Also, if you see any mold, do not eat them. Always prioritize safety in food storage.
FAQs
What is the best way to cut cheesecake bars?
To cut cheesecake bars, use a sharp knife. Dip the knife in hot water before each cut. Wipe the knife clean after each slice. This method helps you get neat edges. You can also chill the bars before cutting for better results.
Can I make this recipe ahead of time?
Yes, you can make these bars ahead of time. I recommend making them a day before serving. After baking, let them cool, then refrigerate. This allows the flavors to meld together well. The bars will taste even better the next day!
How do I know when the cheesecake is done baking?
Look for the edges to be set and the center to be slightly jiggly. If the center seems too wobbly, it needs more time. The bars will firm up as they cool. You can also insert a toothpick; it should come out mostly clean.
To sum up, we covered all the key steps for making delicious cheesecake bars. You learned about the ingredients, from the crust to the filling. We also shared tips for perfecting flavor and presentation. Variations let you customize this treat for any diet. Proper storage will keep your bars fresh longer. Remember, making cheesecake bars is fun and easy! Enjoy every bite and impress your friends with your tasty creatio