Looking for an easy and tasty dessert? You need to try my Strawberry Shortcake Icebox Cake! This no-bake treat is packed with fresh strawberries and creamy goodness. I promise, it’s perfect for any occasion and super simple to make. In this post, I’ll guide you through the ingredients, step-by-step instructions, and even share tips to elevate your cake. Let’s get started on this deliciousness!
Why I Love This Recipe
- Fresh and Fruity Delight: This cake showcases the freshness of strawberries, making it a perfect treat for summer gatherings.
- No-Bake Convenience: As an icebox cake, it requires no baking, saving time and effort while delivering delicious results.
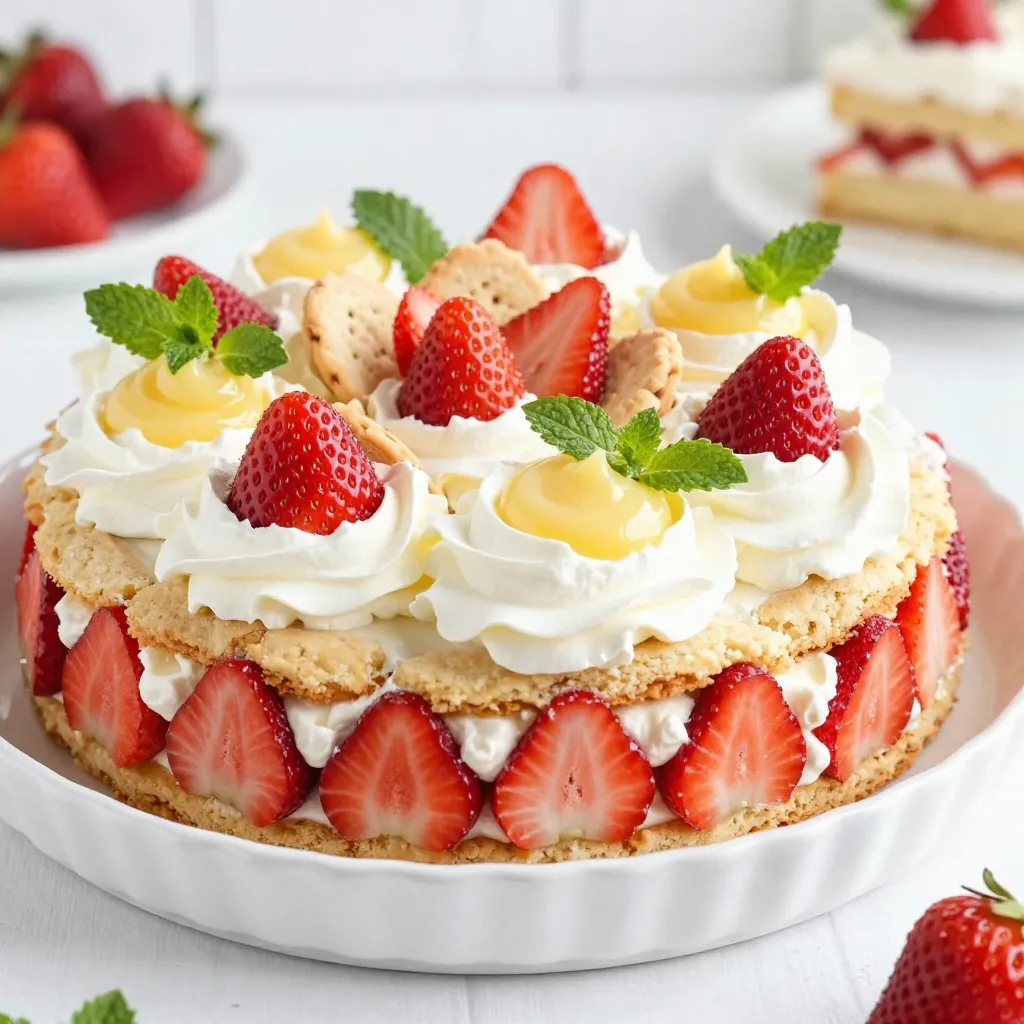
- Layered Perfection: The combination of whipped cream, cookies, and lemon curd creates a delightful layering effect that is visually appealing.
- Make-Ahead Option: With a chilling time of at least four hours, this cake can be prepared in advance, making it ideal for entertaining.
Ingredients
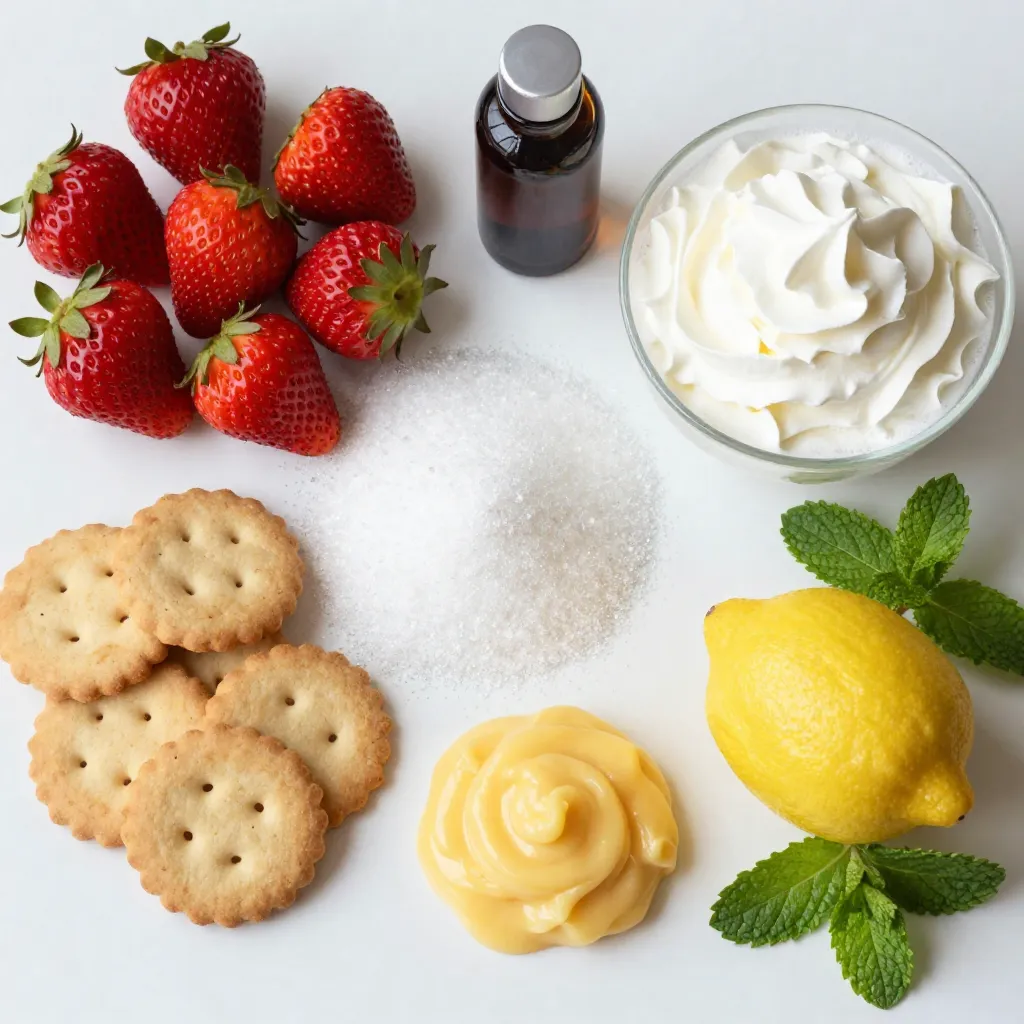
Fresh Strawberries
For this icebox cake, use 2 pounds of fresh strawberries. First, remove the green tops and slice them. Fresh strawberries give the best flavor and texture. You can also look for bright red berries with no soft spots. The taste of ripe strawberries makes the cake shine.
Sugar Requirements
You will need 1 cup of granulated sugar, split into two ½ cups. The first half sweetens the strawberries. This step helps release their juices. The second half goes into the whipped cream. It adds sweetness and helps the cream hold its shape.
Essential Dairy Ingredients
Dairy is key for a rich flavor. Use 2 cups of heavy whipping cream for a light, fluffy texture. It whips up beautifully and gives a creamy base. Don’t forget 1 teaspoon of vanilla extract for extra flavor. This combination makes the cake taste delightful and indulgent.
Step-by-Step Instructions
Preparing the Strawberries
To start, grab 2 pounds of fresh strawberries. Hull and slice them into thin pieces. In a medium bowl, mix the sliced strawberries with ½ cup of granulated sugar. Gently toss until the strawberries are coated. This helps release their sweet juices. Let them sit for 30 minutes. The strawberries will become juicy and flavorful.
Whipping the Cream
Next, take a large bowl. Pour in 2 cups of heavy whipping cream. Using an electric mixer, whip the cream on medium speed. Slowly add in ½ cup of sugar and 1 teaspoon of vanilla extract. Keep mixing until stiff peaks form. This means the cream is light and fluffy. Set the whipped cream aside for later.
Assembling the Icebox Cake
Now, it’s time to build your cake. Start with a 9×13-inch dish. Spread a thick layer of whipped cream on the bottom. Next, lay down half of the shortcake cookies in a single layer. Top this with half of the macerated strawberries. Drizzle half of the lemon curd over the strawberries. Repeat the layers with the remaining cookies, whipped cream, strawberries, and lemon curd. Once done, cover the dish tightly with plastic wrap. Chill it in the fridge for at least 4 hours or overnight for best results. This wait makes the flavors blend and softens the cookies into a cake-like treat.
Tips & Tricks
Achieving Perfect Whipped Cream
To make the best whipped cream, use cold heavy cream. Cold cream whips faster and better. Start with a clean bowl and beaters for best results. Mix on medium speed and add the sugar gradually. This helps it blend well. Keep whipping until stiff peaks form. Your whipped cream should hold its shape nicely. This light and airy cream will be the star of your dessert.
Layering Techniques
Layering is key to a great icebox cake. Begin with whipped cream at the bottom. This creates a nice base. Then, place shortcake cookies in a single layer. Make sure they fit snugly. Next, add the strawberries evenly. Don’t forget to dollop the lemon curd for flavor. Repeat these steps, building layers until you finish. The final layer should be whipped cream topped with lemon curd. This makes a beautiful presentation.
Chilling Time Recommendations
Chilling is crucial for flavor and texture. After assembling, cover the cake tightly with plastic wrap. Refrigerate for at least four hours. However, chilling overnight is even better. This allows the cookies to soften and flavors to blend. The result is a creamy, delicious dessert that is easy to slice and serve. Enjoy the wait; it will be worth it!
Pro Tips
- Choose Ripe Strawberries: Select strawberries that are bright red and fragrant for the best flavor. Avoid any that are bruised or overly soft.
- Chill the Whipping Cream: For optimal results, chill your mixing bowl and beaters before whipping the cream. This helps achieve stiffer peaks faster.
- Layering Technique: For a more visually appealing cake, alternate layers of whipped cream and strawberries, ensuring even distribution for every slice.
- Make Ahead: This cake tastes even better the next day! Prepare it a day in advance to let the flavors meld and the cookies soften perfectly.
Variations
Alternative Fruits to Use
You can change the fruit in this cake. Try blueberries or raspberries for a twist. Peaches add a sweet touch too. These fruits mix well with the cream and cookies. Think about using bananas for a creamy layer. Each fruit brings its own flavor and charm.
Gluten-Free Options
Want to make this cake gluten-free? Swap the shortcake cookies for gluten-free ladyfingers. You can find these at many stores or online. They work just as well and taste great. Always check labels to ensure they meet your needs. Your friends with gluten sensitivities will be happy!
Flavor Enhancements
Add more flavor to your icebox cake. A splash of almond extract gives it a nutty taste. You can also mix in some fresh lemon zest for brightness. Want a chocolate twist? Use chocolate cookies instead of shortcakes. Each change makes the cake unique and fun!
Storage Info
Refrigeration Guidelines
To keep your Strawberry Shortcake Icebox Cake fresh, store it in the fridge. Cover the dish tightly with plastic wrap. This prevents drying out and keeps flavors intact. It’s best to eat the cake within 2-3 days for the best taste and texture.
Freezing Instructions
If you want to save some for later, you can freeze it. Cut the cake into squares and wrap each piece in plastic wrap. Place the wrapped slices in an airtight container. You can freeze the cake for up to one month. When you’re ready to enjoy it, thaw in the fridge overnight.
Best Practices for Serving After Storage
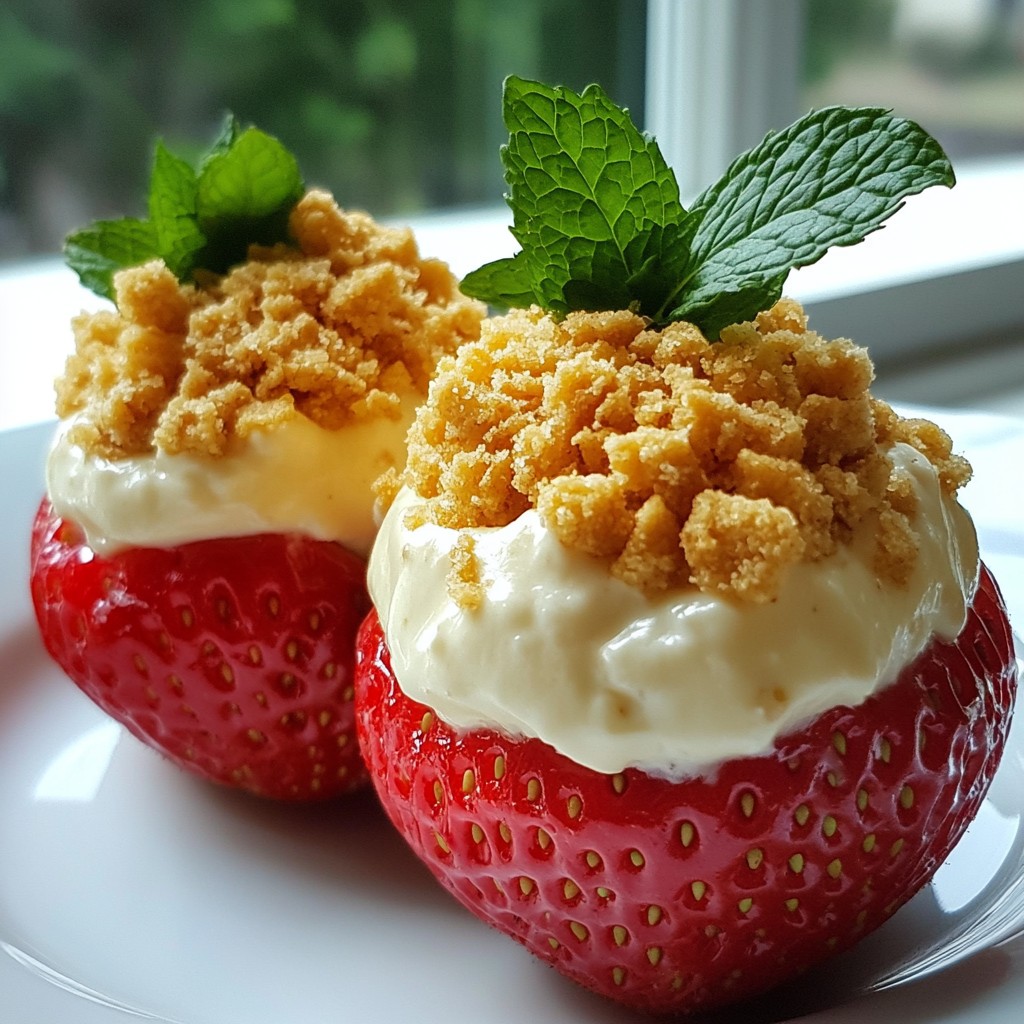
When you take the cake out, it may need some time to soften up. Let it sit at room temperature for about 15-20 minutes before serving. This helps bring back its creamy texture. You can also add fresh mint leaves or a drizzle of lemon curd for a touch of flair. Enjoy your delicious treat!
FAQs
Can I use frozen strawberries?
Yes, you can use frozen strawberries. They work well if you thaw them first. Drain excess liquid to avoid a soggy cake. Fresh strawberries taste best, but frozen ones are great in a pinch.
How long can the icebox cake be stored?
You can store the icebox cake in the fridge for up to three days. Make sure to cover it well with plastic wrap. The longer it sits, the softer it gets. It’s still tasty, but the texture changes.
Can I make this dessert in advance?
Yes, making this dessert in advance is a great idea. I like to prepare it the night before. This gives the flavors time to mix. Plus, it saves you time on the day you want to serve it.
This article guides you through making a tasty icebox cake with fresh strawberries. You learned about ingredients and how to prepare them. I shared tips for whipping cream and layering. You also found storage advice and ways to customize flavors.
Creating this cake will impress your friends and family. Don’t be afraid to experiment with fruits and flavors. Enjoy making your own delicious icebox cak